BHA2022
26th April, Tue
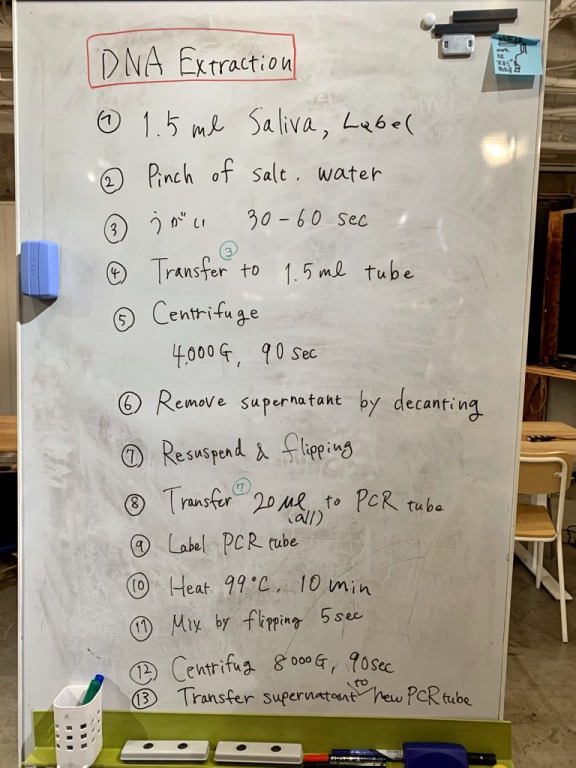
DNA extraction from salva
→BentoLab protocol
※Before the experiment, you shold read the protocol and keep the track of th e flow.
実験前に流れを把握しておくこと。
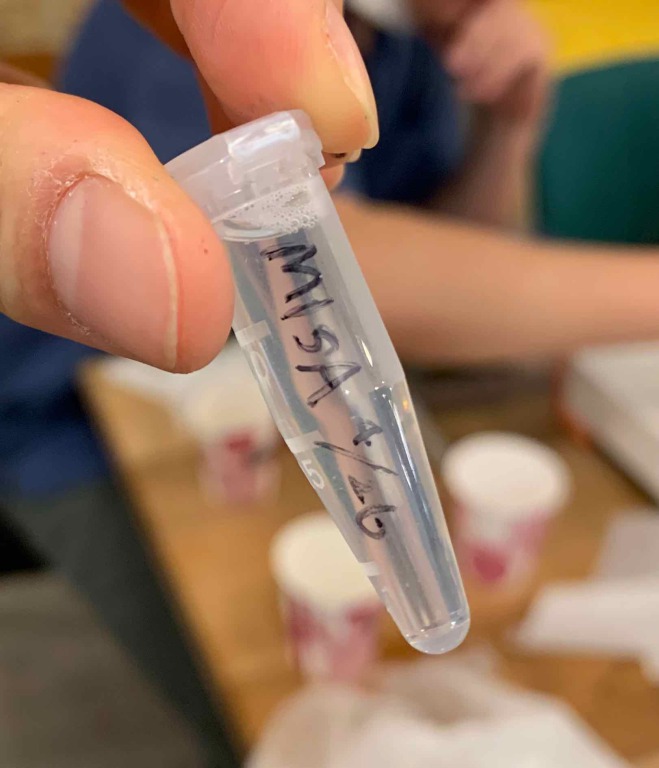
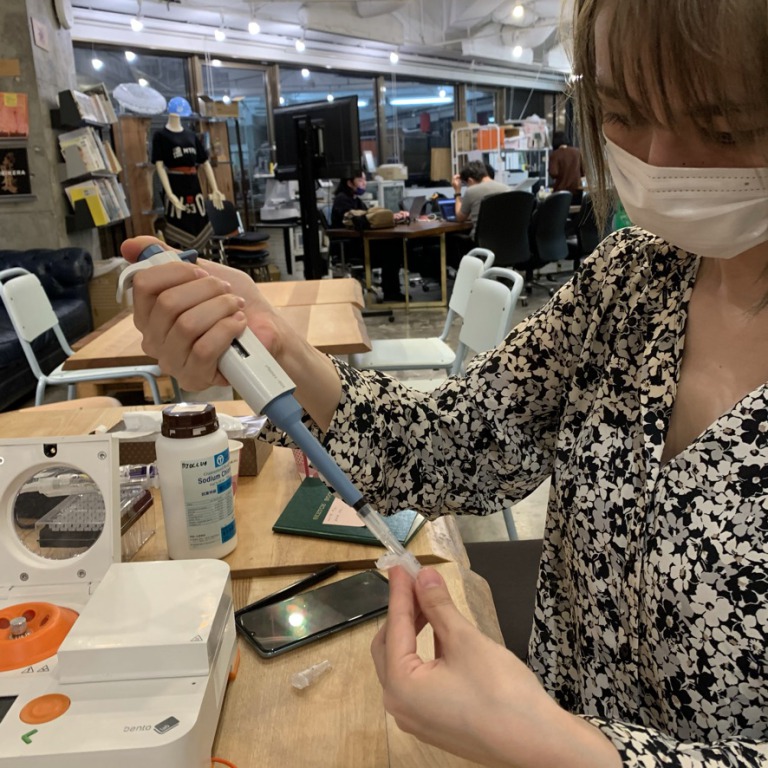
1. Prepare the Sample Tubes チューブを用意
You will use 1.5 mL tubes to extract the DNA samples from saliva.
To start, prepare each tube by labelling them with a permanent marker.
唾液からDNAサンプルを抽出するのに、1.5mlのチューブを用意する。
油性マジックで日付と名前を事前にラベリングしておく。
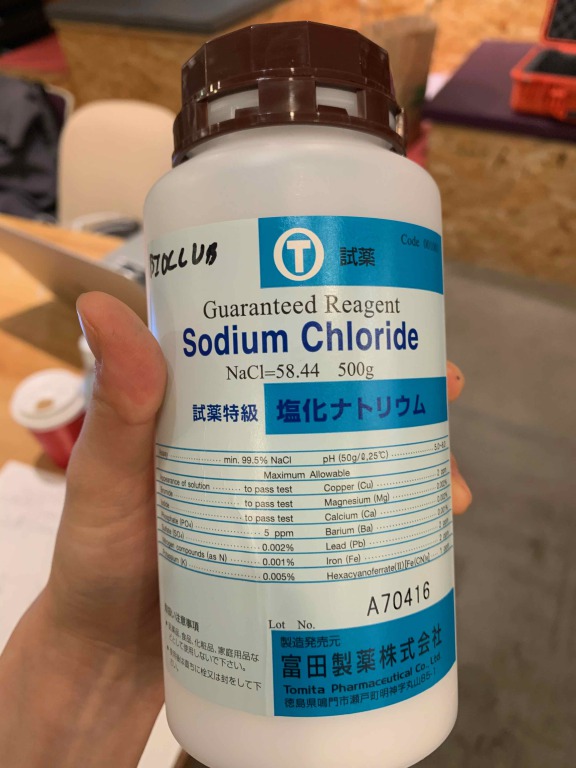
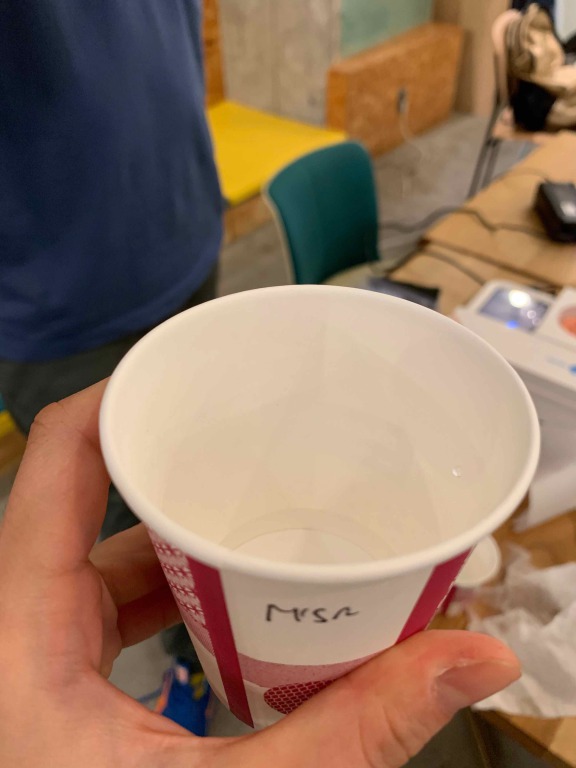
2. Prepare Saline Solution うがい液を用意
You will need salt water (saline solution) as a mouthwash to collect your cheek cells. The measurements do not need to be exact. A pinch of salt for a small sip of water is a good rule of thumb.
ほっぺたの細胞からDNAを集めるために、塩水でうがい液を用意。塩はひとつまみでOK。
このとき、水が多すぎるとうまくいかないので、ほんの一口の水でOK!!
3. Rinsing your mouth うがいする
Rinse your inner cheeks vigorously for 30-60 seconds.
30~60秒うがいする。
(結構長い。)
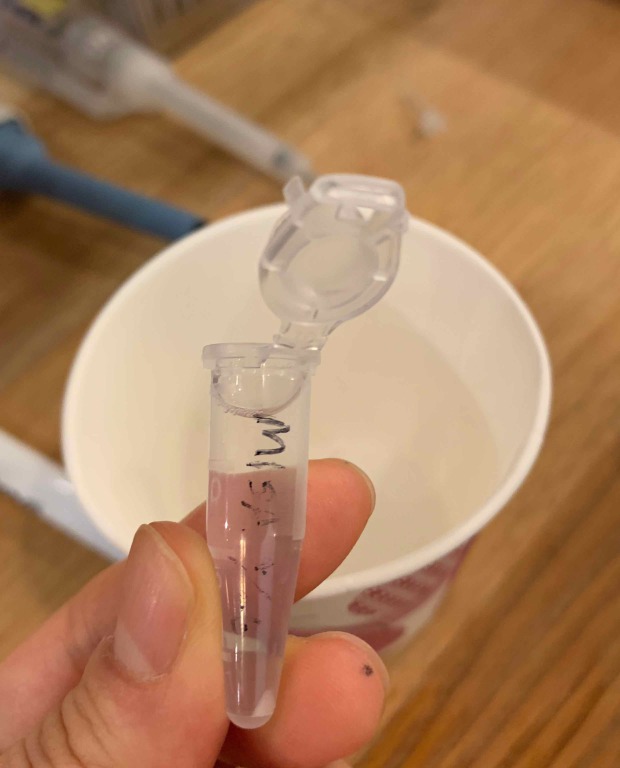
4. Transfer your sample into the microcentrifuge tube 唾液をチューブに移動する
Fill it up to the 1.5 mL mark.
チューブの1.5mlマークまで唾液を入れる。
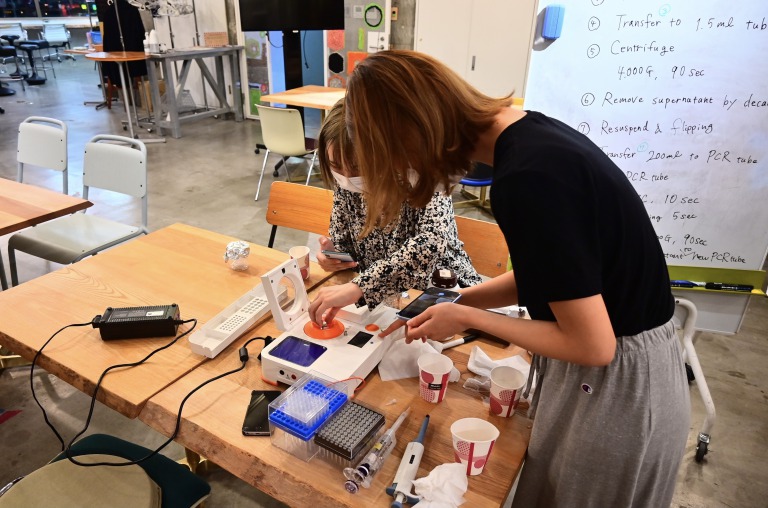
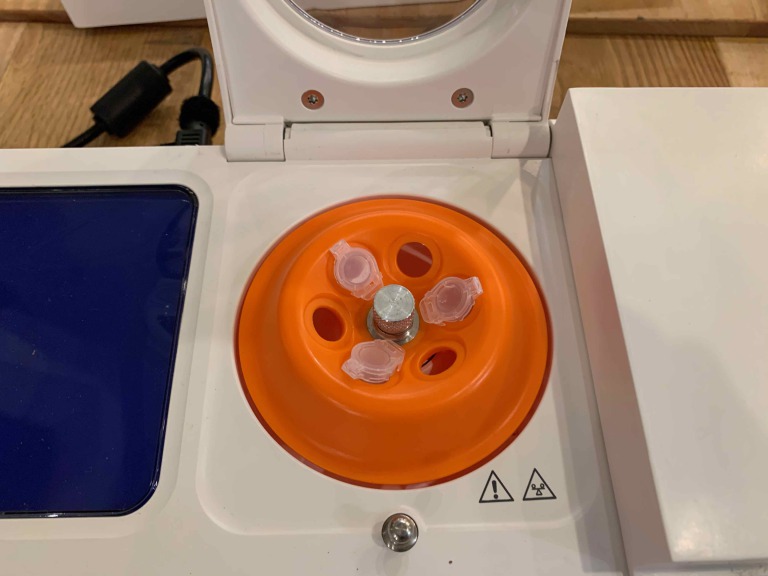
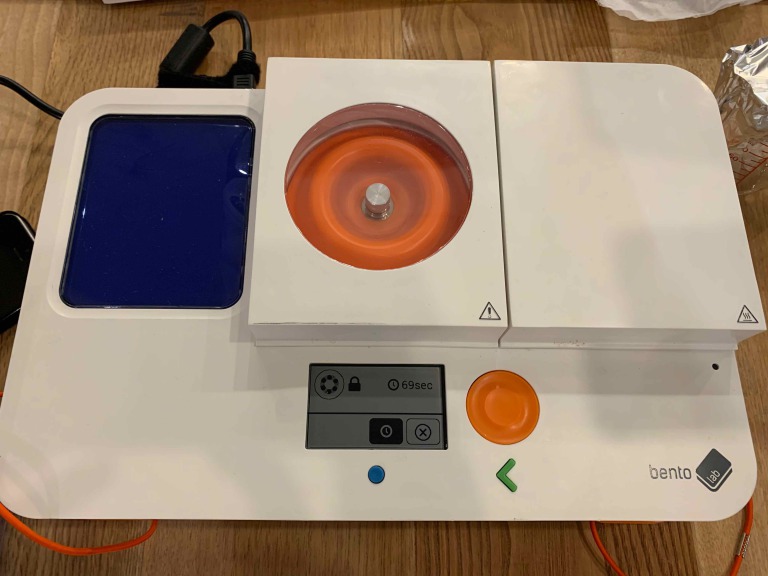
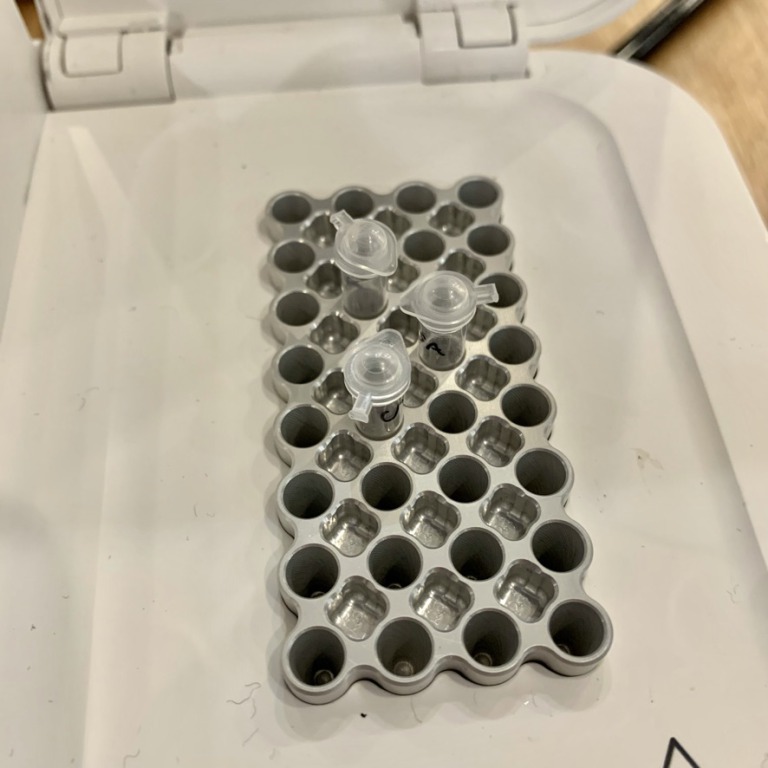
5. Centrifuge 遠心分離機にかける
It is time to use the centrifuge. This will use gravitational force to concentrate the sample.
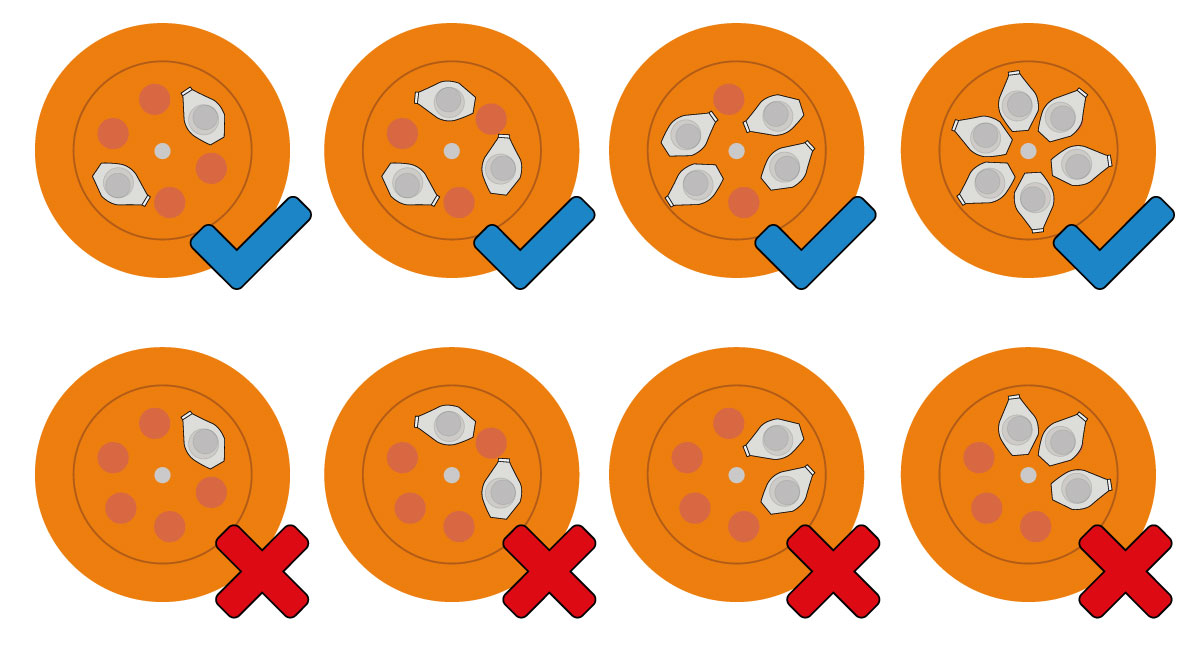
Put the centrifuge tube with your saliva sample into the centrifuge. Make sure to balance the centrifuge with another sample or with another counter weight.
If you only have one sample, the easiest way to balance the centrifuge is to fill another tube with water and use it as a balancing tube. Using the centrifuge in an unbalanced way is dangerous and will break the device.
サンプルを遠心分離機に設置する際、くれぐれもバランスに注意すること。もしバランスが悪いと機器が壊れたりして危険。サンプルが1つの場合は、反対側に水を入れたチューブを設置する。チューブの向きにも注意。
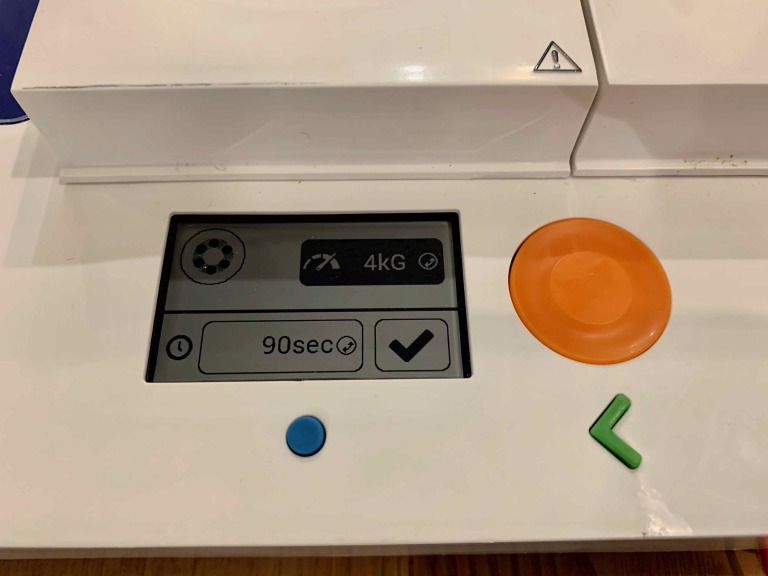
Set the speed to 4,000G and spin for 90 seconds.
4,000G、90秒でセットし、スタート。
※It’s quite loud! 結構大きな音がする!
6. Recovering the Pellet by decanting ペレットだけにする
All the cheek cells should now be concentrated in a small white ball at the bottom of the tube. This is called a pellet. The remaining liquid, called the supernatant, should be clear. = decanting
In this step, you will remove the supernatant, so only the white pellet remains.
チューブの下の方に、白い塊として頬の細胞がくっついている。=ペレット
ペレットの中にDNAがあるので、ペレット以外の上澄み液は捨てる。=デカントする
< New to me >
・pellet: 小さな塊の形状
・supernatant: 上澄み液
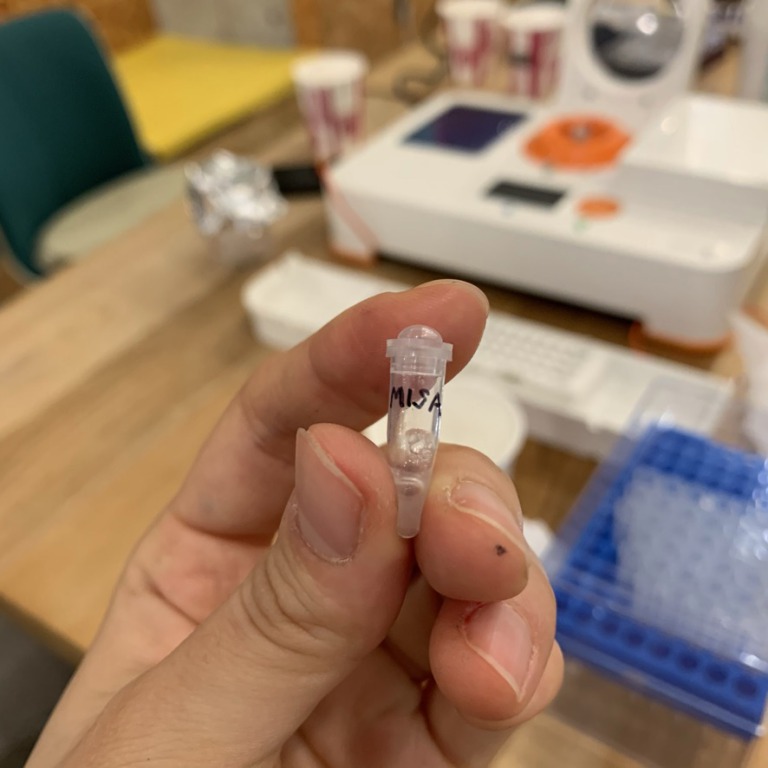
7. Resuspending the Pellet ペレットを再度液に馴染ませる(爪ではじく!)
A white pellet should be about the size of a matchstick head.
If it is smaller than a matchstick head, you may not have enough cells. In that case, go back to concentrate additional cheek cells from saliva.
Once you have a large enough pellet, you can resuspend the cells into the remaining liquid that is still in the tube by flicking it. The cells of the pellet are now resuspended in the liquid.
もしペレットの量が少なかったらもう一度うがいに戻って細胞を追加する。量が十分なら、チューブを爪で弾いたり机に叩いて、ペレットと少量残った液体を再度ミックスする。
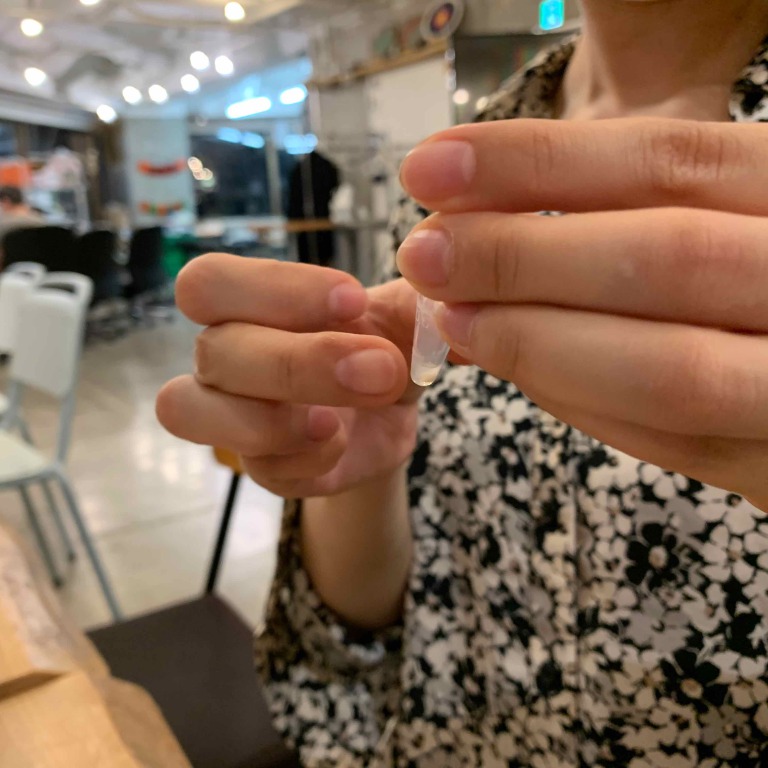
↑After flicking
8. Transfer to PCR tube PCRチューブに液体を移動させる
Transfer the resuspended sample into a 0.2mL PCR tube, so that you can heat it in the thermocycler. Add as much of the cell mixture as possible to the PCR tube. (Maybe it’s ok to transfer all of them.)
サンプルを、PCRチューブに移動させる。細胞をできるだけ多く入れる。(全部入れるくらいのイメージ)
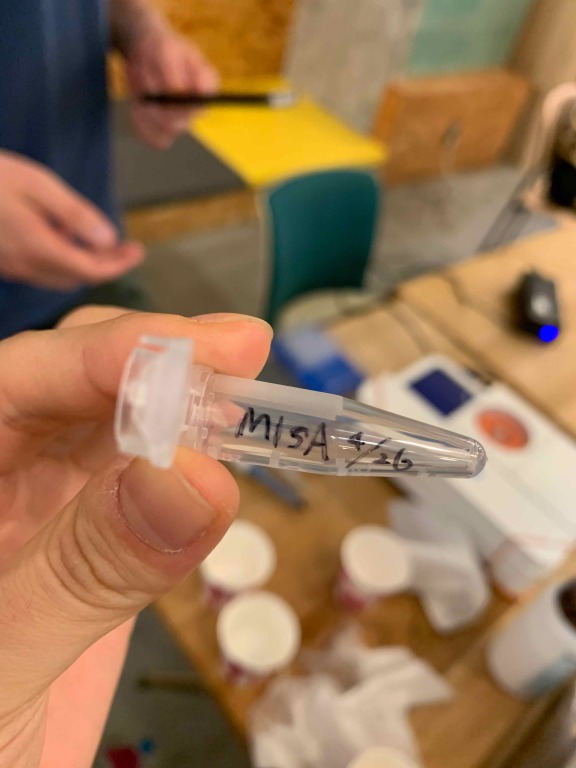
9. Labelling the PCR Tube PCRチューブに名前を書く
Label the side of PCR tubes, not the lid. The PCR machine has a heated lid, so any ink on the tube lid might come off.
PCRチューブは、横側にラベリングすること。
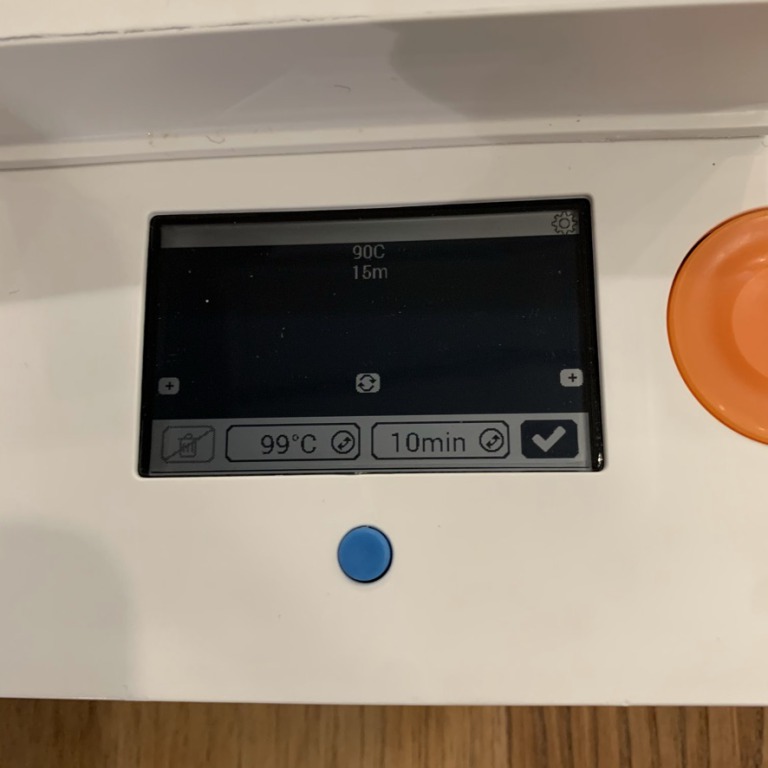
10. Heating the sample サンプルを温める
Use the thermocycler as a heat block to boil the cells and burst them open, to release the DNA into the solution.
PCRチューブをサーモサイキュラーに設置。細胞を開いてDNAを取り出す。
Set up the thermocycler to heat the sample at 99°C for 10 minutes.
99℃、10分で設定し、スタート。
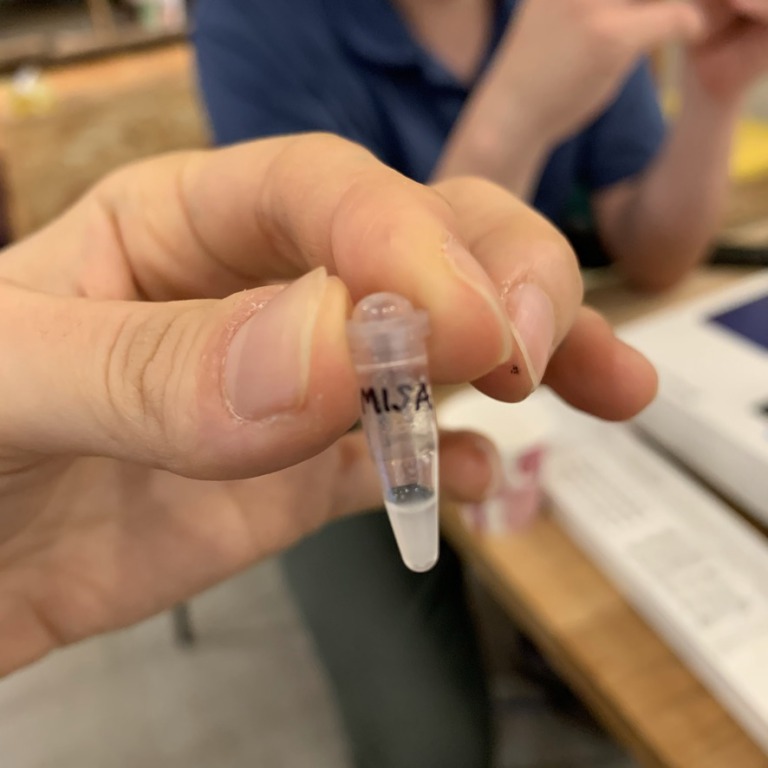
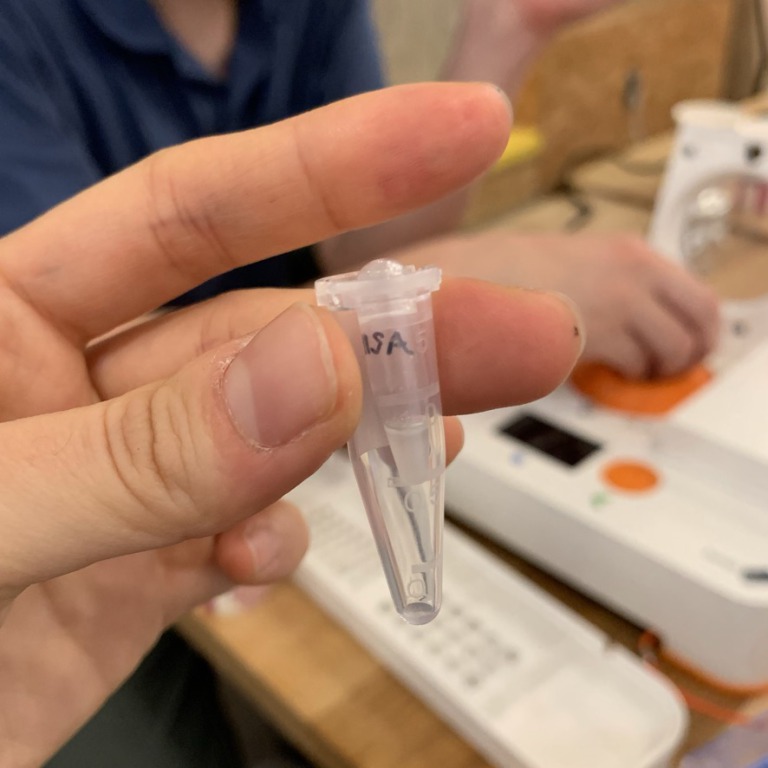
11. Mixing the Sample by flicking サンプルを再度混ぜる(爪ではじく!)
After heating the sample for 10 min, we will prepare it again for centrifugation. Flick the PCR tube for 5 seconds to mix the sample.
PCRチューブを5秒爪ではじいて、サンプルを液体とミックスする。次は再度遠心分離。
↑Before flicking
↑After flicking
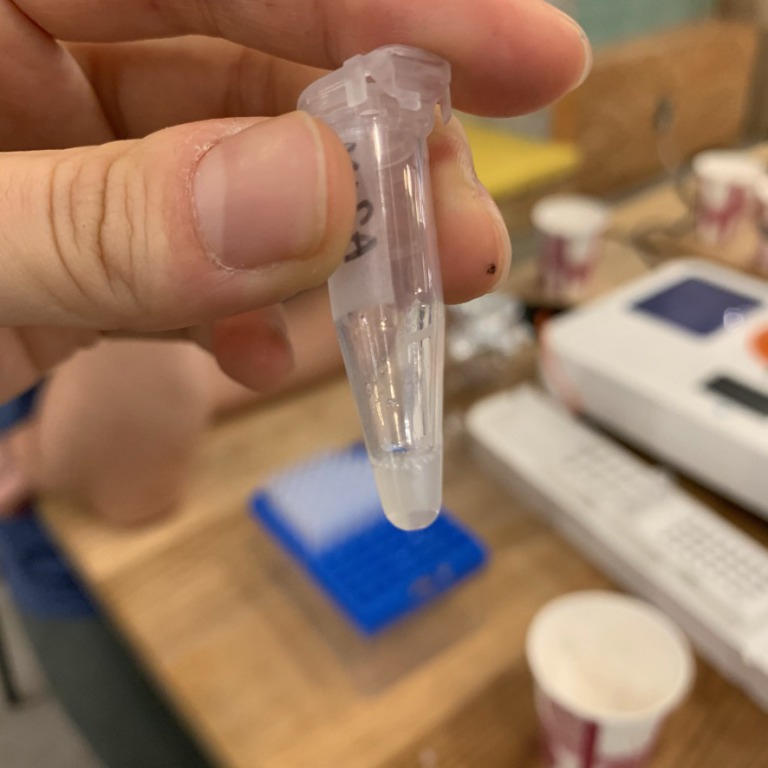
12. Centrifuging the sample サンプルを再度遠心分離する
Spin the sample to separate the supernatant from the cell debris. Now the cells have burst thanks to the heating step, the DNA will be released from the cells and floating in the supernatant.
The molecular weight of DNA is lighter than the other cell material, like proteins and cell walls. Now we need the SUPERNATANT part!
DNAは軽いので、遠心分離することで、白い塊ではなくて透明な上澄み液の方に分離する。今度は上澄み液の方が重要!
↑To place the PCR tube the centrifuge, we need to use the PCR tube adapter that sits in a normal microcentrifuge tube and converts it to fit a PCR tube.
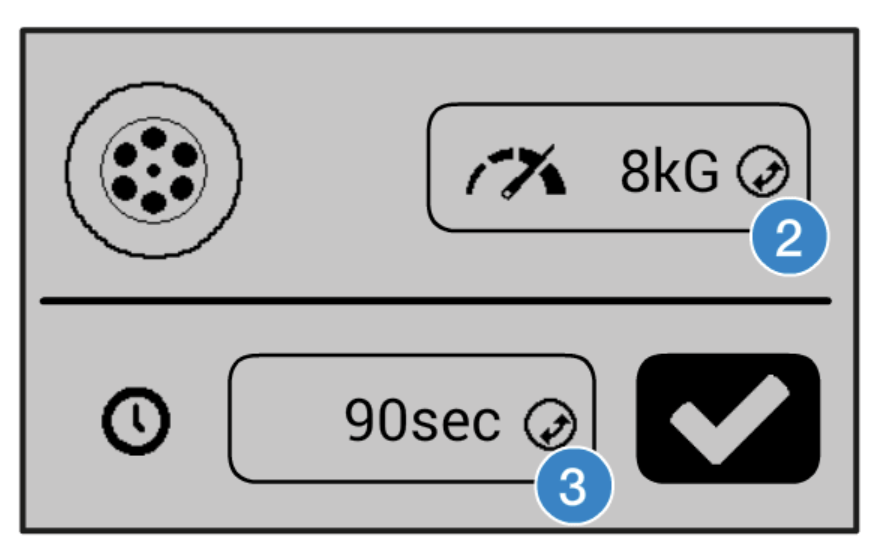
Set the centrifuge to run for 90 seconds at 8kG.
8kG、90秒で設定し、スタート。
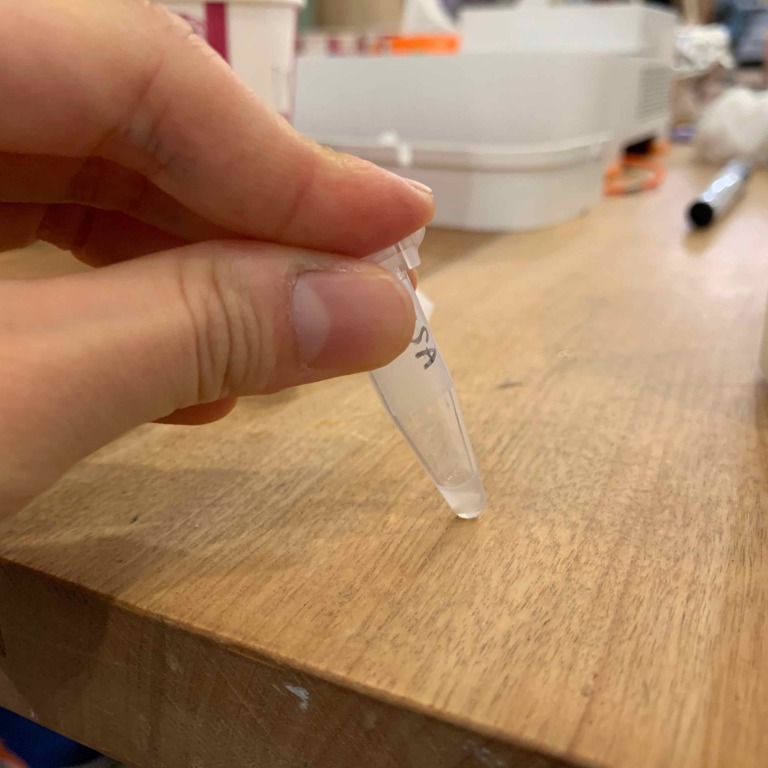
13. Cleaning up the sample for storage DNAだけを取り出す
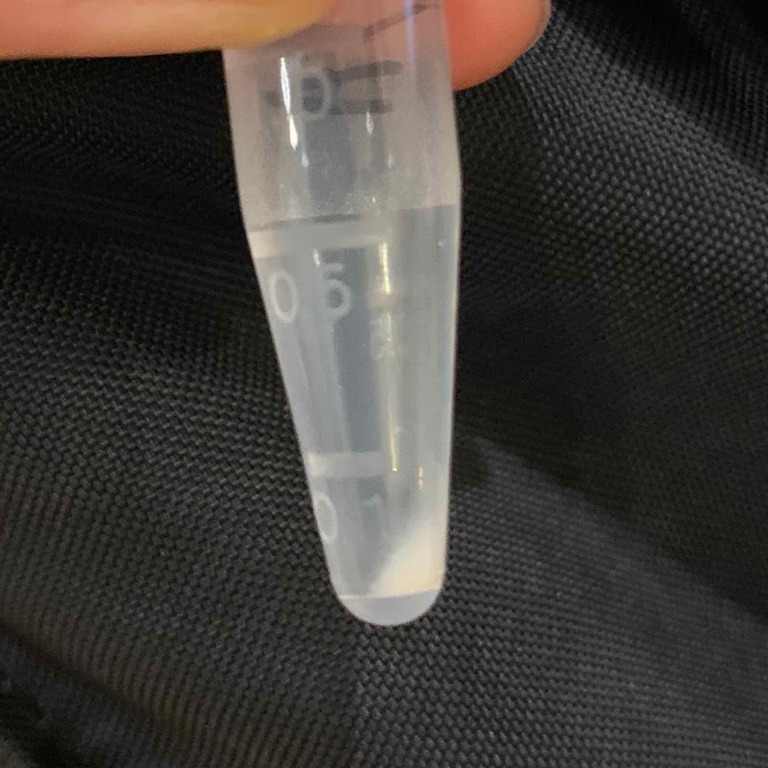
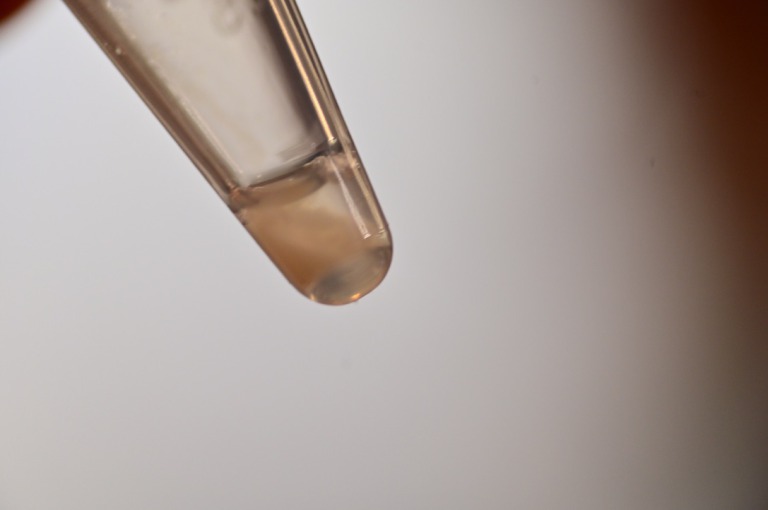
After centrifugation, all the cell debris has been forced to the bottom of the PCR tube, leaving only the DNA in the liquid supernatant. The supernatant should look clear, like water.
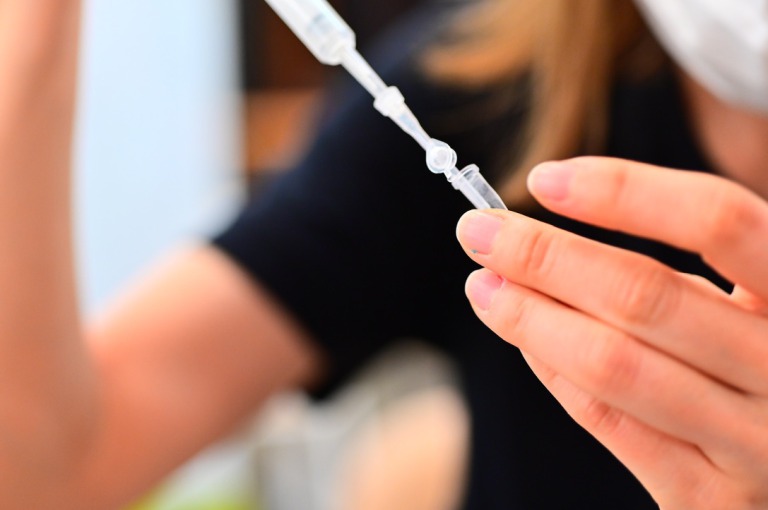
Finally, you will transfer the supernatant into a new PCR using the micropipette.
You should only transfer the clear liquid supernatant. Avoiding any of the cell debris will reduce the chance of interference with the DNA sample.
透明な上澄み液だけを、新しいチューブに移し替える。くれぐれも、上澄み液だけ!他の細胞は入れないように注意。

↑We got the transparent DNA supernatant!!
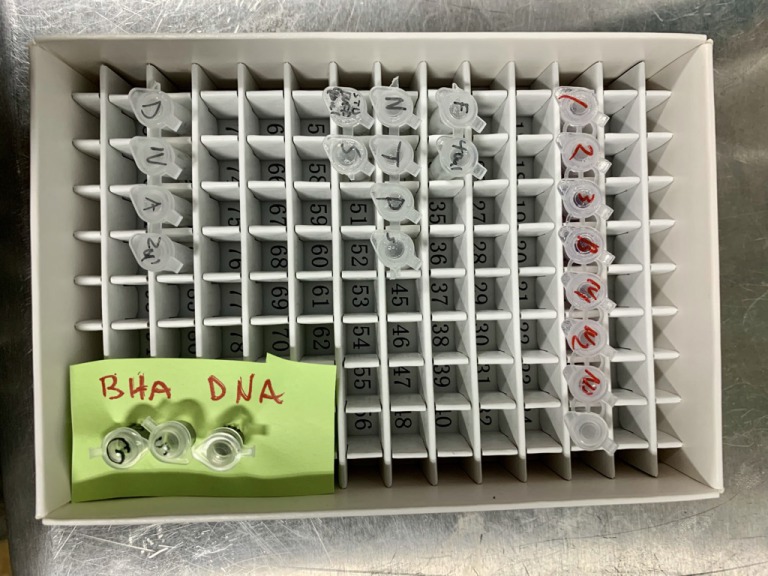
14. Labeling and storage ラベリングして、保存!
If you are not using the template sample in another protocol right away, store it in the freezer at around -20°C. This will preserve the sample.
マイナス20度の冷凍庫で補完しておく。